I decided it was about time that I smartened up my prefab garage. It started out as a dark, dank hovel where puddles formed over the floor every time it rained and worm casts were a permanent feature around the base of the walls. I'm sure if you're reading this post, you'll know what I mean! I also wanted to sort out some storage and figure out a way of hanging tools, bikes etc from the walls. It's very difficult to drill into the walls, so I needed another solution.
Here's a picture of what it looked like before I started in an almost empty state:

I wanted to have a nice level floor that I could keep clean and after weighing up a few options, I opted for a layer of liquid damp proof membrane, followed by self leveling compound and then garage floor paint. I wouldn't recommend driving a car on it, but this is more than suitable for my needs. Every now and again, I drop something heavy and it dents the floor, but I can just touch it up with some left over paint if necessary.These are the steps I followed to complete my garage overhaul:I first took the doors off and jet washed the whole floor and left it to dry for a day or two. I then formed a 1" cement fillet between the walls and floor using a narrow paint scraper. This was to prevent the water flooding in every time it rained and worms making their way between the walls and floor. I'd read on a few websites that a cement fillet was the way to go. It seemed to be a lot easier to create a consistent 1" fillet using the paint scraper than a proper trowel. I also needed a strip of concrete between the doorway to hold the self leveling compound in, so I screwed 2 x 10mm thick strips of pine to the floor, spaced about 6" apart between the doors to hold and level a cement strip while it set. Once all the cement had dried, I removed the strips.Next, I masked the walls at about 6" high and painted the whole floor with 3 coats of Wickes liquid damp proof membrane:

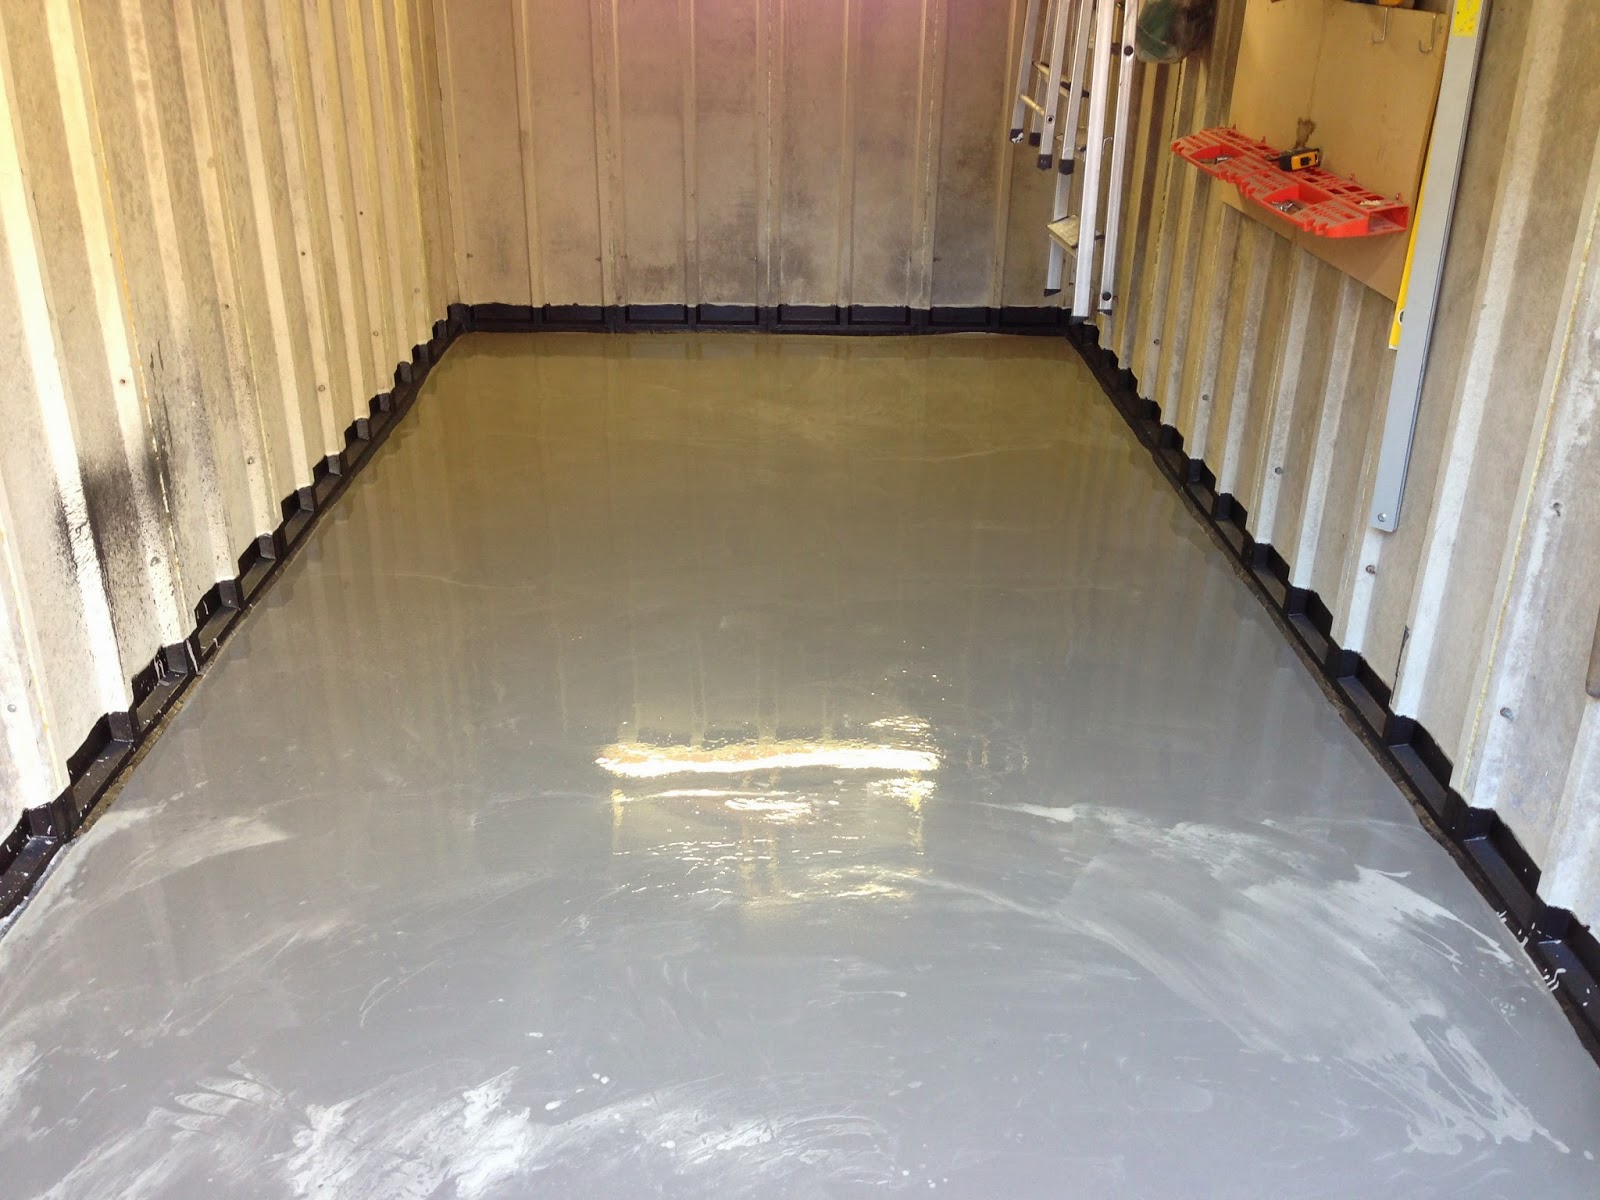
I did some research into whether I could just lay self leveling compound straight onto the liquid damp proof course and the only info I could find was from Wickes website where an adviser had said that it wasn't designed to be laid straight on top of the liquid damp proofing. I figured I would give it a go anyway and it's been down for a year now with no sign of cracking or ill effect. I laid the self leveling compound on my own, but I'd advise getting a friend to help if you do it yourself. I put 8 x 20kg bags of Wickes self leveling compound down. I got everything ready including 8 containers of the correct amount of water, 8 bags cut open and ready to poor, mixing trug, mixing drill attachment and cement trowel ready to screed (when it's poured, it needs a bit of coaxing to get it level!). I managed to get it all down, but had to work pretty quickly before it started going off!
The picture below shows the (still wet) compound:
Next I used decorators caulk to fill the gaps between the concrete wall sections. I painted the walls with white masonry paint and the floor with Ronseal garage floor paint (masking again, but I'm a bit of a perfectionist!).

In order to attach hooks and a bike rack etc to the walls I wanted to have a wooden batten fixed to the walls that I could then attach everything to. I figured I could glue it to the wall, but I'm always a fan of more secure fixes if possible. In the end I bought a threaded eye bolt for every joint in the prefab walls. I got these from Screwfix. I removed the nut and washer from each of the top bolts holding the prefab sections together, threaded over the eye bolt, added a larger washer and re-attached the nut. I then drilled the battens in the relevant places and used the threaded end of the eye bolts to secure the battens to the wall with the supplied nuts. These were extremely secure for attaching my tools, bikes etc to.

The following pictures show the final result:


I hope my post has been useful for anyone thinking of doing anything similar. Thanks for reading!
Found this doing a search, your solution for putting the batten on the garage bolts was great. I got the very same eye bolts from screw fix and worked a treat. Thanks a lot, can't tell you how much this has helped.
ReplyDeleteTempted to give mine a lick of paint also, looks good.
Hi Simon, Thanks for your comment! Great! Glad you found it useful. I definitely found it easier than trying to drill holes in the concrete! I'd recommend painting it too. It makes it a lot brighter and cleaner looking. Would be great to know how you get on. Cheers Nick
DeleteReally helpful advice! Thanks
ReplyDeleteHi. I just wanted to echo the comments made by Simon, last year. We're waiting to exchange contracts on a property with a double pre-fab garage, which I'm very keen to make into a space I can spend time in and store things so we can actually get access to them (unlike our current shed). Your project has really given me some fantastic encouragement and ideas. I'm certainly going to get it painted to brighten it up, but the solution to fixing battens is exactly what I was looking for but hadn't managed to figure out. Thanks very much for taking the time for sharing this on line... you've heped me to change my pipe-dream into a plan. Cheers! :)
ReplyDeleteHi Pete, thanks for your comments. Great! Glad my post has been helpful. The battens are still holding extremely strong! They have a light switch and sockets on them now too. I've also added a garage draft excluder from Screwfix, which made a big difference to the leaves and dirt coming in. Good luck in your house move. Would be great to know how you get on.
DeleteCheers
Nick
Hi Nick
ReplyDeleteGreat article and solved a long standing issue of fixing battens in a stronger fashion in my own garage, using adhesives worked for some areas but not others over the years. I am interested in how the floor has held up for you given the comment regarding not being designed to be used on top of the liquid damp proof, hope it is still solid. Would you do anything different in hindsight?
Thanks.
Hi Colin
DeleteThanks for the comments! Glad the battens worked for you. The floor has held up very well! It's actually been down 3 years now and it's showing no signs of cracking or deterioration. Nothing too heavy gets dropped on the floor, so the paint and floor have held up very well. The paint was a very cheap and sufficient fix for me, but if I was parking a car on it or likely to drop heavy stuff on it, I'd probably put some rubber floor tiles down rather than paint.
The only thing I would have done differently is to get someone to help mix the self levelling compound whilst I laid it. I don't know if you've used it before, but it only roughly levels itself and needs a bit of time to coax with a float to get it perfectly level.
Also, the floor and wall paint doesn't stick to the damp proof course very well, so has started to flake a bit. Some primer of some sort would probably have helped, but it's really not that bad. The levelling compound has stuck to it very well though.
On the whole, I'm still very pleased with the result! Hope that's helped you decide what to do. Would be very interested to know what you decide!
Cheers
Nick
Artificial grass
ReplyDeletei like this post, we visit again for more updates , thanks for sharing this article.
Quick question on the eyebolt - I went to get some from screwfix and the eye of the bolt was huge - far too big for my m8 nuts even with a washer - also - as the side of the panels are angled - how did you account for this when fitting the battens? Did you drill the hole in the batten at an angle, because bending the eyebolt looks nigh on impossible!
ReplyDeleteHi AndyLB
DeleteYes, you need some fairly big washers. From memory they were about the size of a 50p pieces. As you tighten the nut and bolt that connect the pannels together, the eyebolt tends to align with the bolt and washer rather then the angle of the concrete, so they do stick out pretty much at right angles to the wall. I then drilled roughly 10 mm holes in the wooden battens to allow a bit of float and account for any slight angles of the eyebolts. Then use fairly large washers again on the eyebolts. Once the nuts on the eyebolts are tight, the friction between the batten and the wall holds the batten in place vertically (not that it could move that much anyway!)
Hope this helps
Cheers
Nick
Hi Nick
ReplyDeleteGreat to read this as ive bought a house with one of these pre formed conpton garages. Im looking to do the same this summer, make the floor damp proof and insulate the walls and ceiling. You've given me a great guide to help me get a grasp on what can be done and some motivation too!
I want to turn it into a fish house where i can keep my fishtanks. Did you insulate walls or ceilings after or stick to using it for storage? How about stopping the garage door from being opened and ventilation?
Regards
Dav
Hi Dav
DeleteThanks for your comments! The fish house idea sounds great! I'm still just using mine for storage and a workshop, so didn't really need any insulation, but if I was going to do it, I think I'd probably use some Kingspan insulation boards (or similar) and possibly plywood over the top. Maybe using the same idea with the eye bolts to secure the plywood in place. Then something similar for the ceiling whilst trying to keep a vaulted ceiling for the headspace.
For the front doors, I've got 2 regular side hinged doors (I think they were originally from Howdens). One with locking bolts on the inside into the floor and ceiling and the other with a regular door handle and lock. I also fitted a garage threshold strip to the floor which made a huge difference to leaves and other rubbish coming in under the door: http://www.screwfix.com/p/stormguard-garage-threshold-seal-black-2-5m/37019. Ventilation in mine takes care of itself as there's a gap between the walls and the roof, but I'd fit some ventilation plates if I was insulating it.
Hope this helps anyway. Would be great to find out how it goes!
Cheers
Nick
hi, great job and looks fantastic. i'm wanting to do a similar thing but my floor is almost always damp and wet when it rains. i'm sure it's not coming from the roof, there's guttering as well so it must be from the ground on the edges of the garage. I already have a fillet and that seems to be damp too. I know I should start with the fillet but not sure how to tackle it.
ReplyDeleteHi Mubeen
DeleteSorry for the delayed reply! Thanks for your comments. If the fillet you've already got isn't crumbling or cracked, I'm sure you could just paint the liquid membrane over the top and it would seal it, ready to put the self levelling over the top. If it's crumbling, then maybe chisel it away and re-do it. It wasn't too difficult with a narrow decorators scraper.
Maybe check outside that there's no soil up against the garage or anything that would hold the damp in too.
Cheers
Nick
That is a great idea, thanks. What wood did you use for the battens?
ReplyDeleteHi Ashley
DeleteThank you! I bought some 34mmx69mm PSE softwood: http://www.wickes.co.uk/Wickes-Whitewood-PSE-34x69x2400mm-Pack-4/p/107032.
Anything around that size would do. I wanted it to be thick enough to screw hooks and things into.
Hope that helps!
Cheers
Nick
Hi Nick, Thanks for sharing, very useful. I'm just about to follow your lead on this, how's it holding up a few years later, is there anything you'd do differently?
ReplyDeleteSteve
Hi Nick, Thanks for sharing, very useful. I'm just about to follow your lead on this, how's it holding up a few years later, is there anything you'd do differently?
ReplyDeleteSteve
Hi Steve,
Deletesorry for the late reply. Just been on holiday! It's still holding up very well. There's no signs of deterioration at all. The self levelling compound has stuck nicely to the liquid damp proof membrane and it's still keeping the water out nicely.
The battens are also still working perfectly!
The only thing I would have done differently as I mentioned to Colin above was to get someone to help mix the self levelling compound and spend a bit more time getting it perfectly level.
Hope this helps and it all goes well!
Cheers
Nick
Hi,
ReplyDeleteJust wanted to say thanks very much for this post - we had a new Lidget Compton garage this summer, and I nabbed your idea for fixing battens to the walls. Looking absolutely fantastic now. The one modification we made to your method was to use chamfered washers between the concrete panels and the eye bolts so that they protruded pretty much straight.
Cheers
Ruth
Hi Ruth
DeleteGlad you found my post useful and yours is looking good! Where did you get the chamfered washers from? Might be useful for anyone else thinking of doing the same. Thanks for commenting!
Cheers
Nick
Hi Ruth, just about to embark on this project myself and was wondering about chamfered washers. Where did you get yours from?
DeleteI know this post is from ages ago, but it's exactly the solution I was looking for and would never have thought of! I was really worried about drilling the garage as I've heard horror stories about cracking and blowing chunks out, so this was perfect.
ReplyDeleteThanks!
Hi Chris, great, glad you found it useful!
DeleteCheers
Nick
Hi just wanted to say thanks for this I'm mid wayghome through this now.
ReplyDeleteMy only question is when I was tightening the eye bolts they would tighten straight but more at an angle. I'm just wondering if that's right or if you bended them straight?
Thanks
Hi Richard
DeleteFrom memory i think I did bend a few slightly, but only by 5-10deg. There's no reason you can't bend them more than that though to get them sticking straight out. I drilled about 8mm holes through the battens and used large washers to accomodate any eye bolts that were not completely perpendicular too. Hope it goes well!
Cheers
Nick
Thanks nick that makes me feel better about bending mine. Hoping to finish it off this weekend so thanks a lot for your help
DeleteReally interesting posts. Im intending to do similar with elderly concrete panel garage. Two things. garage doors and fittings are shot. Replacing garage with solid shiplap wall with second hand windows bought on ebay. Buildinfg frame in door opening to fix shiplap.Concrete panels at front badly deteriorating with concrete crumbling and intend to repair with cement mix.
ReplyDeleteWill post pics as project progresses. Have never parked car in it so loss of garage doors no loss